# How to Fix a Dripping Tap: A Complete Washer Replacement Guide for UK Homes in 2025
Understanding the Basics of Dripping Tap Repair
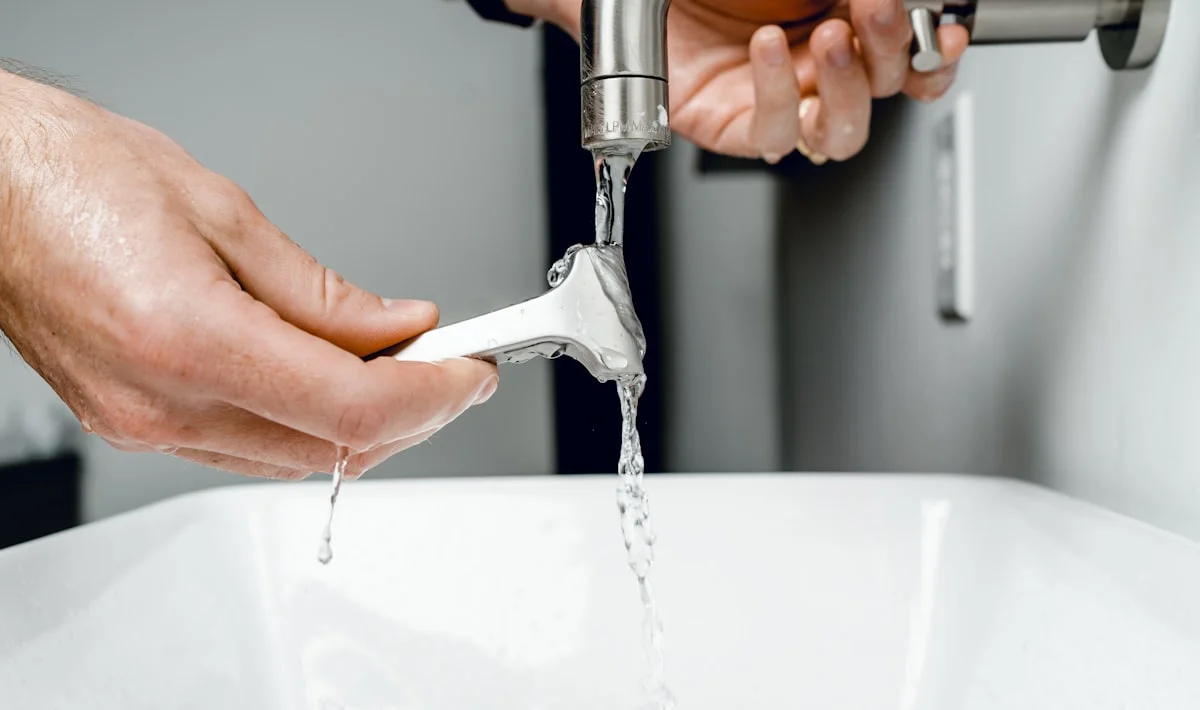
A dripping tap is one of the most common household plumbing issues, and knowing how to perform a dripping tap repair can save you money and water. In the UK, most traditional taps use rubber washers that wear out over time, leading to leaks. If you’re dealing with a persistent drip, a simple washer replacement is often the solution. This guide will walk you through the steps for a successful dripping tap repair, ensuring your tap runs smoothly in 2025 and beyond.
Ignoring a dripping tap can waste hundreds of litres of water annually, increasing your utility bills and environmental impact. Fortunately, with basic tools and a little patience, you can fix the problem yourself without calling a plumber. Whether you have a pillar tap, mixer tap, or monobloc tap, the principles of dripping tap repair remain similar.
Tools and Materials You’ll Need for the Job
Before starting your dripping tap repair, gather the necessary tools and materials. You’ll need an adjustable spanner, a flathead screwdriver, a replacement washer (size depends on your tap), and possibly some PTFE tape. A pair of pliers and a cloth to protect the tap’s finish may also come in handy. If your tap has been in place for years, you might need penetrating oil to loosen stiff components.
It’s important to turn off the water supply before beginning any repair. In most UK homes, you can do this by locating the isolation valve under the sink. If there isn’t one, you may need to shut off the main water supply. Always place a plug in the sink to prevent small parts from disappearing down the drain during the repair process.
Step-by-Step Guide to Replacing a Tap Washer
Start by removing the tap handle. This is usually held in place by a small screw hidden under a decorative cap. Use a flathead screwdriver to gently pry off the cap, then unscrew the handle. Once the handle is off, you’ll see the tap’s gland nut. Use your adjustable spanner to loosen and remove this nut, taking care not to damage the tap body.
Next, extract the valve mechanism to access the old washer. The washer is typically located at the base of the valve and may be secured with a small brass screw. Remove the old washer and replace it with a new one of the same size. If the washer seat (the part it presses against) is worn or pitted, you may need to replace the entire valve or use a reseating tool for a smooth surface.
Reassembling the Tap and Testing for Leaks
Once the new washer is in place, reassemble the tap in reverse order. Tighten the gland nut securely but avoid over-tightening, as this can cause future leaks. Reattach the handle and replace the decorative cap. Turn the water supply back on and test the tap. If the dripping persists, double-check the washer seating and ensure all components are properly aligned.
For extra security, you can wrap PTFE tape around the valve threads before reassembling. This helps create a watertight seal and prevents future leaks. If your tap still drips after replacement, the issue may lie with a damaged valve seat or another internal component, which might require professional attention.
Preventing Future Dripping Tap Issues
Regular maintenance can extend the life of your tap washers and prevent future dripping. Avoid turning taps too tightly, as this can accelerate washer wear. If you live in an area with hard water, limescale buildup can also affect tap performance. Periodically clean your taps with a descaling solution to keep them functioning smoothly.
Investing in high-quality washers can also make a difference. Ceramic disc taps, which are becoming more common in UK homes, don’t use traditional washers and are less prone to dripping. If you’re frequently replacing washers, consider upgrading to a modern tap design for a more durable solution.
When to Call a Professional Plumber
While most dripping tap repairs are straightforward, some situations require a professional. If you encounter corroded or broken parts, stripped threads, or persistent leaks despite replacing the washer, it’s best to call a qualified plumber. Attempting complex repairs without the right skills can lead to further damage and costly repairs.
Additionally, if your home has older plumbing systems, forcing stiff components may cause pipes to crack or joints to fail. A professional can assess the entire system and recommend long-term solutions, ensuring your taps remain leak-free in 2025 and beyond.

Final Thoughts on Dripping Tap Repair
Fixing a dripping tap with a washer replacement is a simple yet effective DIY task that any UK homeowner can tackle. By following this guide, you’ll save water, reduce your bills, and gain confidence in handling basic plumbing repairs. Remember to use the correct tools, turn off the water supply, and test thoroughly after reassembly.
If you’re unsure at any stage, don’t hesitate to seek professional advice. A well-maintained tap not only functions better but also contributes to a more sustainable household. With these tips, you’ll be prepared to handle any dripping tap issues that arise in 2025 and keep your plumbing in top condition.


